Step 1 — Open CAMB AI Studio in your browser
- Open your preferred web browser and sign in to CAMB AI Studio.
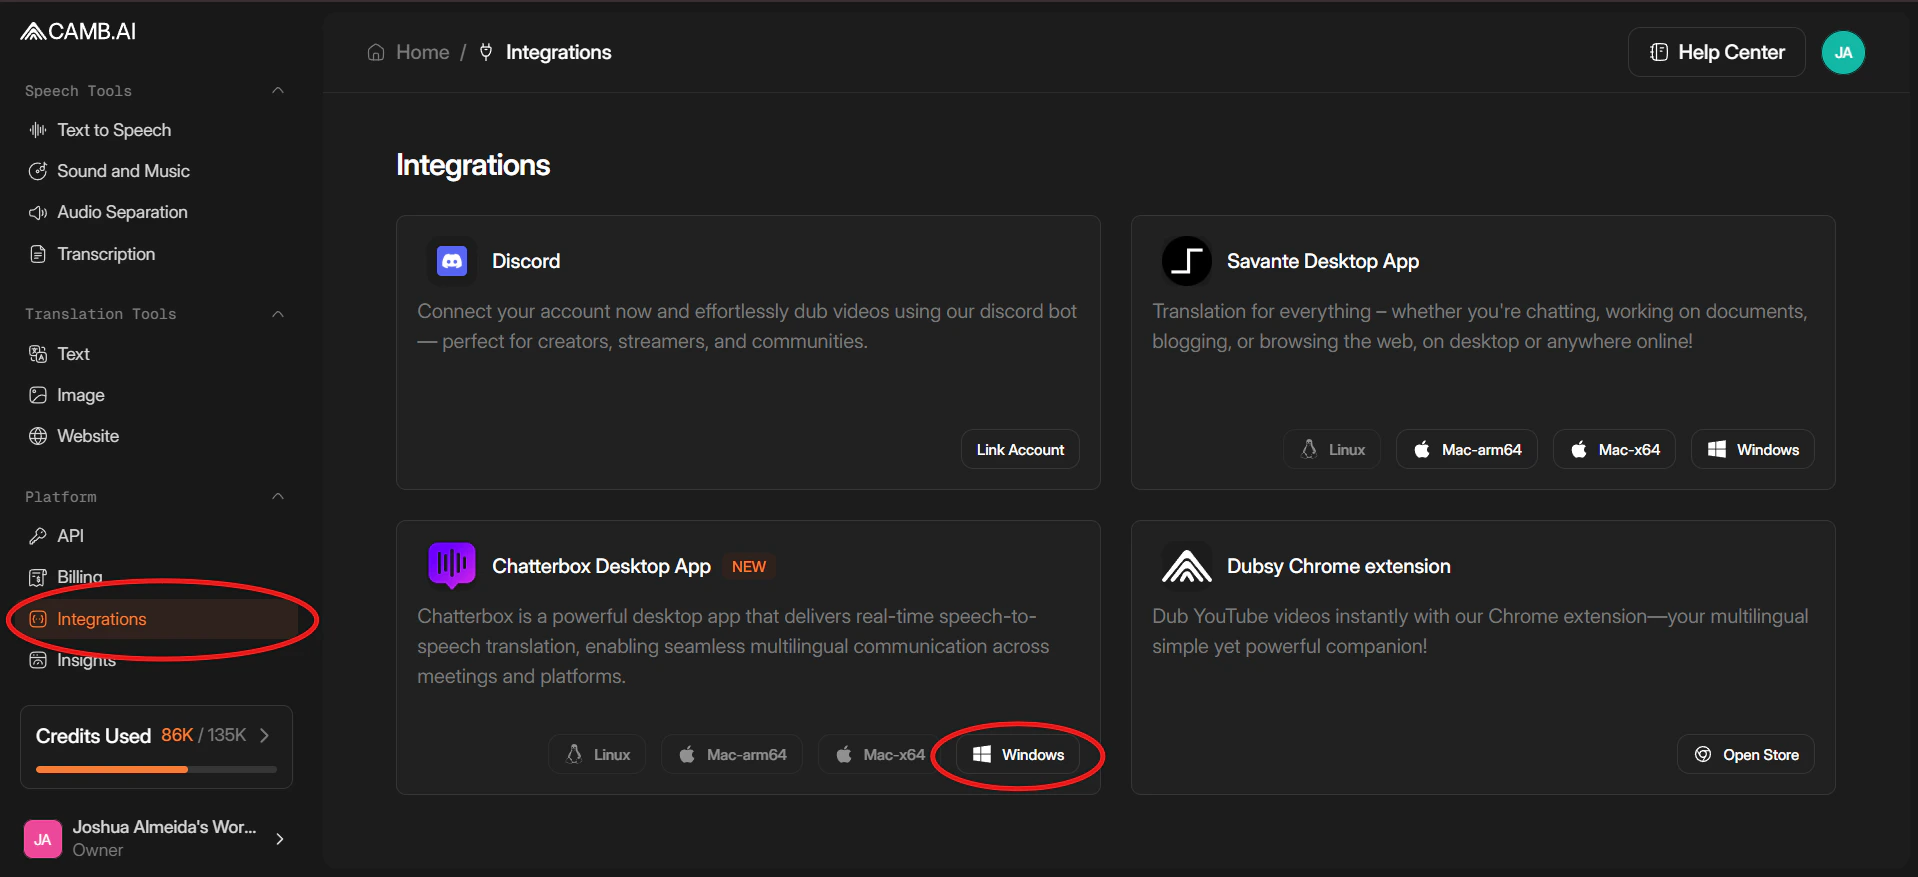
- In the left-hand sidebar, scroll down to the Platform section.
- Click Integrations to open the list of available integrations for your workspace.
Step 2 — Download the Chatterbox Desktop App
- On the Integrations page, find the Chatterbox Desktop App card.
- Under the description, click the Windows button.
- Your browser will begin downloading the Chatterbox installer. Wait until the download completes.
Step 3 — Open the installer
- Open File Explorer and navigate to your Downloads folder.
- Locate the file named
Chatterbox-1.6.7-setup.exe(the version number may differ). - Double-click the file to launch the installer. If Windows asks for permission, click Yes.
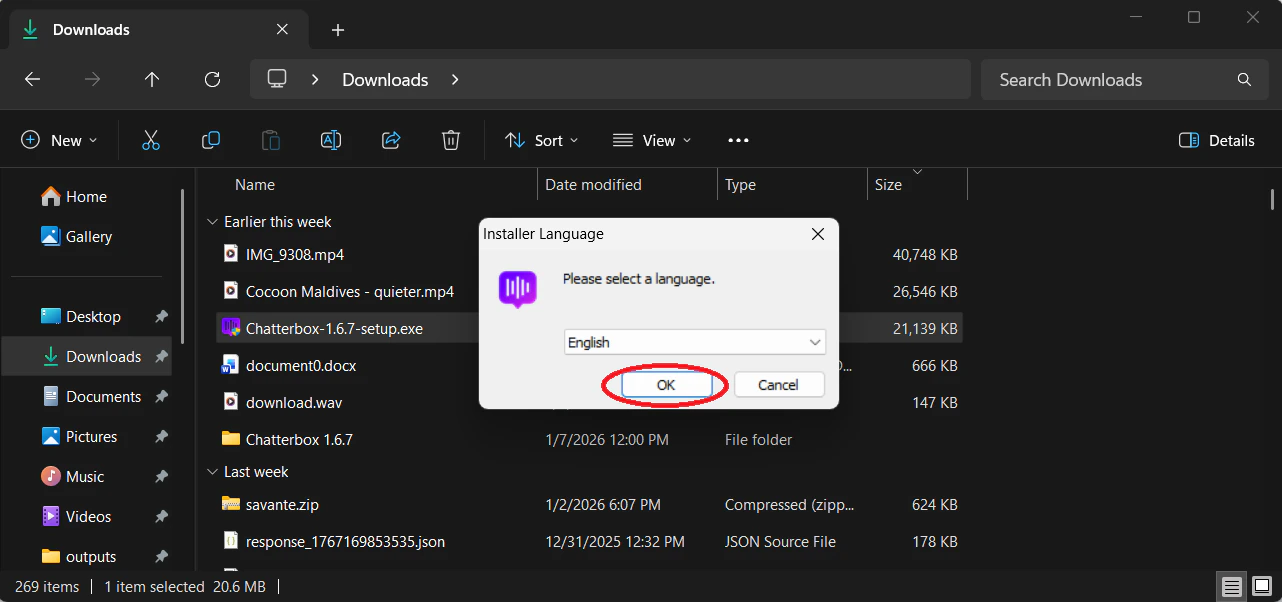
Step 4 — Choose the installer language
A small window titled Installer Language appears. Make sure English (or your preferred language, if available) is selected, then click OK.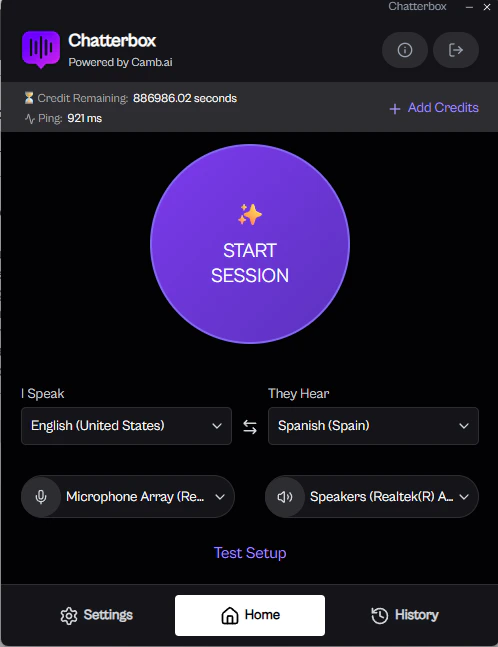
Step 5 — Start the Chatterbox Setup Wizard
The Chatterbox Setup welcome screen explains that the setup will guide you through the installation process. Click Next to proceed.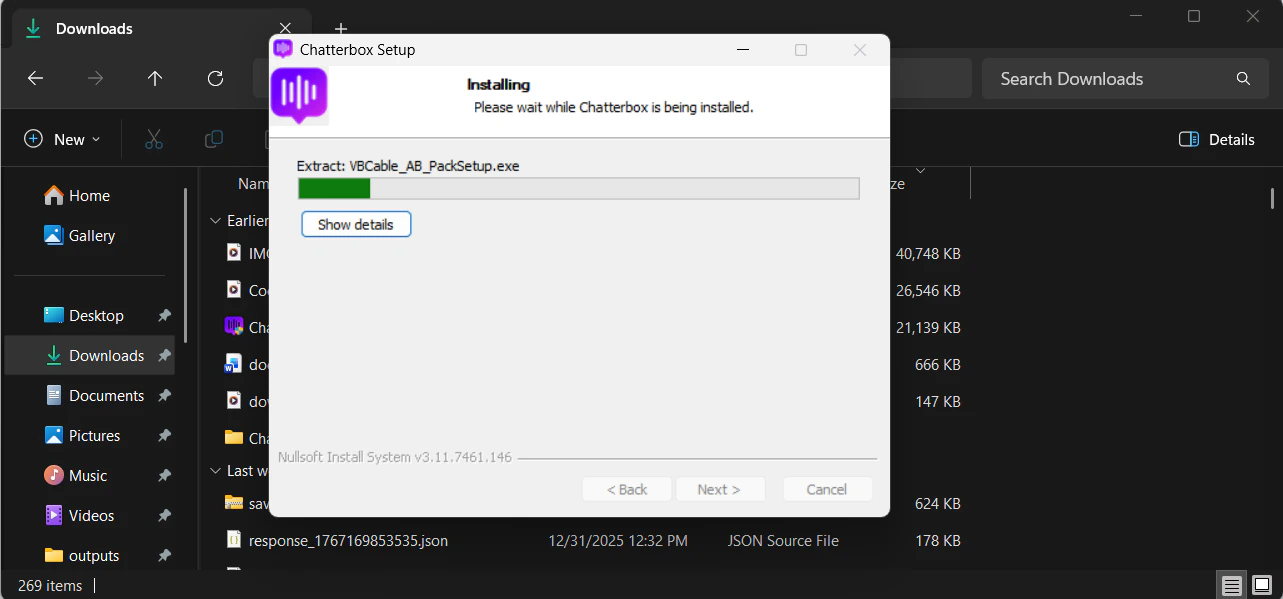
Step 6 — Review and accept the License Agreement
- Review the terms on the License Agreement page.
- Select I accept the terms of the License Agreement.
- Click Next to continue.
Step 7 — Confirm the installation location
The Choose Install Location screen shows where Chatterbox will be installed — by defaultC:\Program Files\Chatterbox\. For most users, keeping the default location is recommended.
If you need to change it, click Browse… and select a different folder. When you’re satisfied, click Next.
Step 8 — Configure Start Menu shortcuts
On the Choose Start Menu Folder screen, decide how Chatterbox appears in your Start Menu.- The default folder name Chatterbox is usually best.
- If you prefer not to create any Start Menu shortcuts, check Do not create shortcuts.

Step 9 — Wait while installation completes
The installer now shows an Installing screen with a progress bar. Please wait while Chatterbox and its components (including the required audio drivers) are copied and configured. You don’t need to do anything on this screen.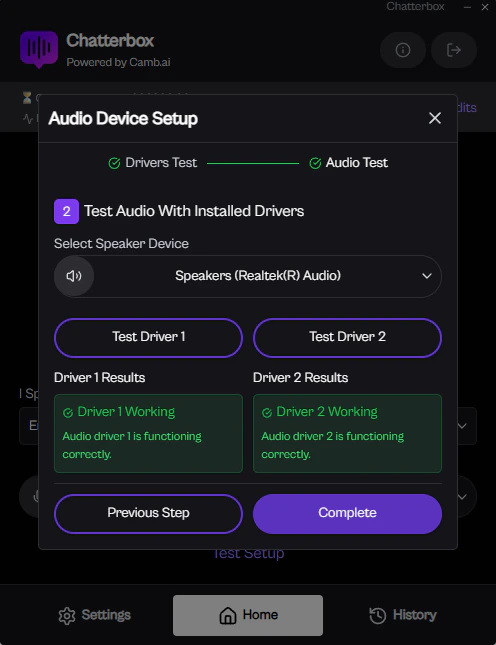
Step 10 — Complete setup and reboot
When installation is complete, a Completing Chatterbox Setup screen appears with a prompt to restart your computer.- Select Reboot now (recommended).
- Click Finish to close the installer and restart your computer.
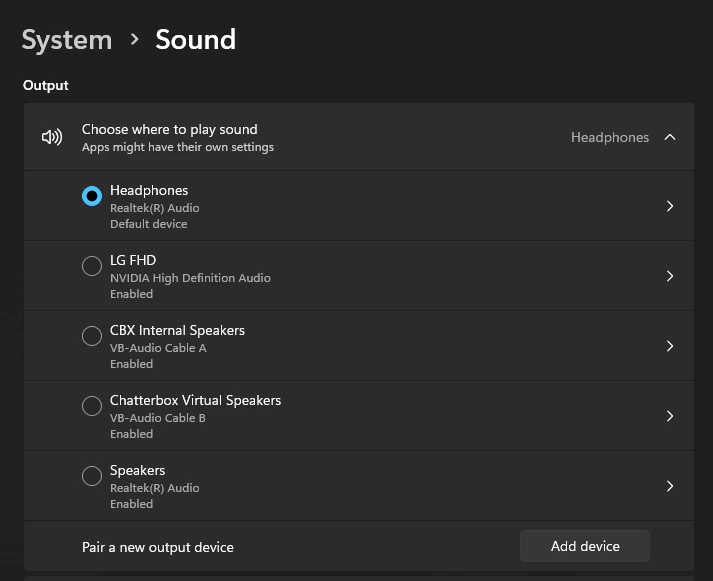
Restarting your system is required so that the virtual audio drivers used by Chatterbox are correctly installed and activated.
What’s next
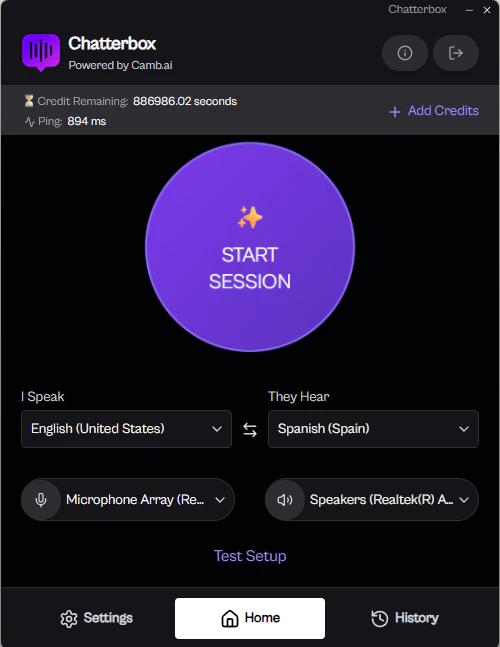
After your computer reboots:- Open Chatterbox from the Start Menu or desktop shortcut.
- Sign in with your CAMB AI Studio account to connect Chatterbox to your workspace.
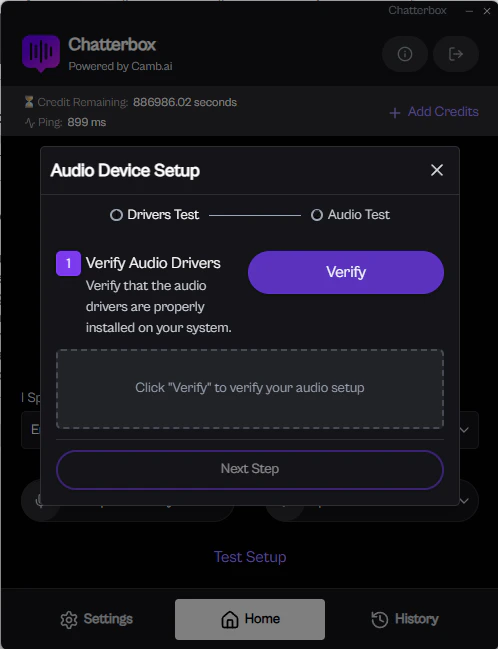
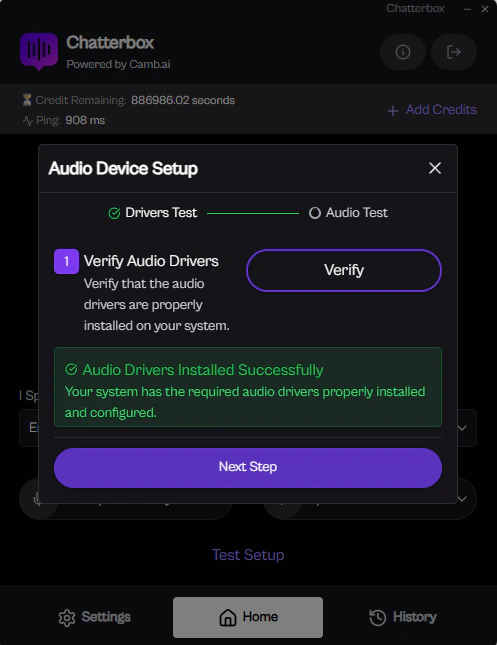
- Continue to Verify your setup to confirm the audio drivers are working before joining a live meeting.